1.Push the "Email Application" on the home screen
2.Push the menu button at the bottom of the phone, then push "Setting Email"
3.Push "Changing the Address, Other Settings"
4.Push "Access"
※If you use the email application made by sharp, please follow the procedure below.
- Startup the "Email Application," then push "Setting" at the lower right
- Push "Setting Email"
- Push "Other Settings"
- Push "Access."
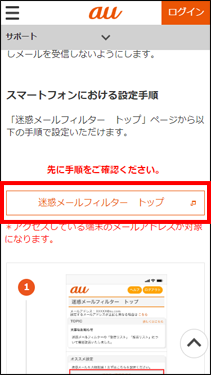
5.Push "For Setting the Spam Mail Filter"
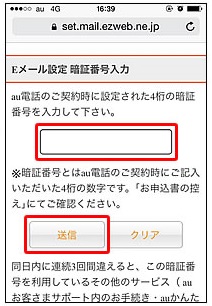
6.Push the 4-disit PIN number, then push "Send" button
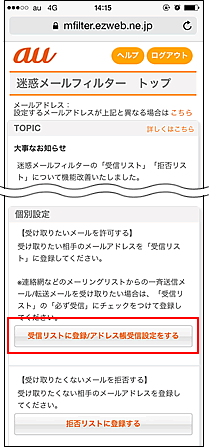
7.Push "Register for the Receiving List / Setting Receiving Email of the Address Book"
At the page of "Top for Spam Mail Filter," scroll down the screen, then push "Register for the Receiving List / Setting Receiving Email of the Address Book"
8.Input "ckip.jp" in the box of inputting the letters, then check "Surely Receiving"
1)Input "ckip.jp" in the box of inputting the letters, then select "Match the Domain" at the right side of the column.
2)Check "Surely Receiving"
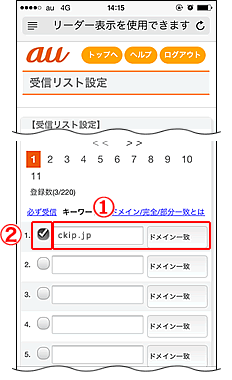
※If "Setting for receiving the address book" is "Setting (only for the address book)", the category of "Setting the receiving lists" cannot be displayed.
▼For au user setting "Receiving only for the address book"
http://www.e-msg.jp/support/au-add
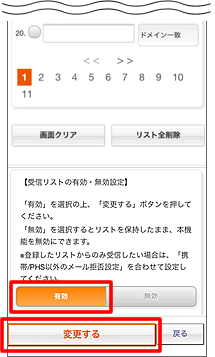
9.Set 【Setting the Receiving List to Valid / Invalid】to 〔Valid〕, then push "Change" button
Scroll down the screen and check 【Setting the Receiving List to Valid / Invalid】for 〔Valid〕, push "Change" button.
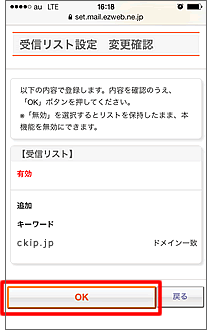
10.Confirm the changed content at the "Confirmation Screen," then push "OK" button
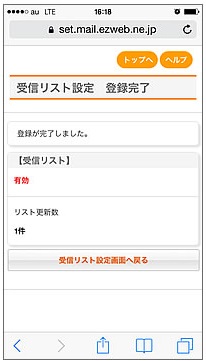
11.Setting completed, after【Register Completed】screen is displayed